* 6 & 7- What have you learnt about technologies from the process of constructing this product?
* Looking back at your preliminary task, what do you feel you have learnt in the progression from it to the full product?
From our preliminary task to our main task we were now able to confidently use the auto focus when taking a shot where no effect was needed, such as a blurry effect transitioning to a clear focus. We used auto focus when no effect was needed making it easier to film certain shots. We learnt how to use the shutter speed in the making of the opening, such as making certain movements faster or slower, also the use of the ISO on the camera, affecting the sensitivity of the sensor adjusting the image. Upon experimenting with the camera, we found that the camera would record at a maximum of 30 seconds, in the settings there were options to disable to auto timing which helped us during filming. During filming the battery ran out when previously I had charged it fully, however during my research I discovered that the battery had to be charged all night, rather than unplugging my battery when the light turned green. When filming a second time this really helped us film for longer and we managed to film all our shots. We also used two cameras, one from school and my home camera which allowed us to capture different shots for our opening.

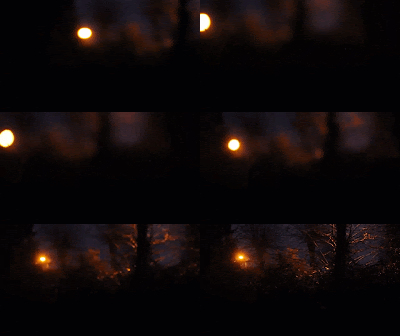 During the preliminary task we only used auto focus, and during the main task we started to use the manual focus to create a certain effect. By using the manual focus, we were able to create a pov shot, creating an unsettling atmosphere for the audience. I also learnt that by holding the camera close to your chest stabilises the camera and gives you a better quality shot.
Previously in our preliminary task our story board was not clear when showing each room as we did not know what the location looked like exactly, during filming this changed the position of our shots and did follow the order we wanted. Although, during our main task we knew each room we were going to film in, and the story board made this even more clear and made filming easier. Also, during our main task there was a lot more communication within our group when deciding where to film. Moreover, when working on different blogs together I learnt how to create a gif, by selecting the link from YouTube and pasting it into a gif maker website. Next, selecting the part of the video you want and downloading onto your desktop, this became extremely helpful when making a creative blog post.
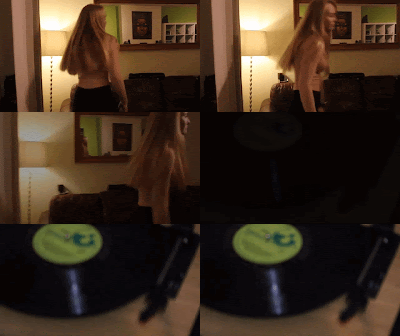
In our preliminary task, in the editing process we only used basic cuts. However, in the process of making our main task, we started to see which transitions were effective for our opening. After our teacher suggested some options we could look at, such as the fade to black transition, to make our shots look more like an opening rather than a short film or a trailer. The transition, slows the pace of the speed down, creating a more suspenseful atmosphere and effect for the audience.
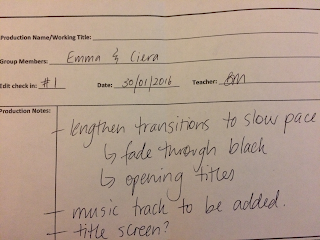 The darkness of the fade to black also gives an intense feeling as it focuses on the record player. From our teacher's feed back and one of my friend's feed back. I decided to look on YouTube for some quiet low suspenseful music to add to the beginning, where Amber walks into the living room to get her phone. The music adds suspicion and tension. I had not used You Tube converter until I downloaded our opening sound effects. While making this opening I begun learning how to download and convert audio files. By placing the link into a YouTube converter space, converting and then downloading an audio file onto to the desktop. On YouTube I found a great piece of quiet suspenseful music, however this was copyrighted so I was unable to use it. Another piece I found was a quiet piano piece, which built tension, I used speed/duration to slow the music down and this created a lower pitch, producing a darker sound. I used the exponential fade at the beginning of the music to smoothly transition to the quiet music and another one at the end, when the record player appeared.
We also learnt how to use the black and white effect, by experimenting with different options on premiere pro. We decided that this was effective for these darker shots as it emphasises that the lights have gone out, highlighting the darkness that surrounds her, and this effect is typically used when set at night, such as in Horror films like Paranormal activity.
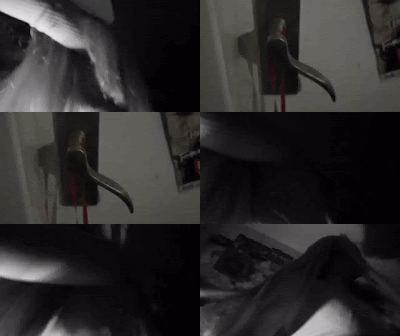
To increase the pace of the opening, to reach a climatic suspense. We shortened the shots and rather than focusing on Amber the whole time, we took a shot of the door handle as Amber tried to open the door frequently, to amplify the panic and anxiety she is feeling from an enclosed space that she can't escape from. We wanted to show this from a another perspective.
when creating the credits, we had to research online to have an idea on how to make the title screen. We experimented with different fonts and sizes, and begun learning how to use the different tools when creating the title screen & credits. The font that we chose had sharp edges with a certain horror style. However, when typing out the title, the font colour was green, we eventually found title properties which led to fill stroke and allowed us to change the colour of our font to white and red, by selecting a colour in each corner of the square, to achieve the right balance between the colours white and red.
 As we were short on time, I managed to learn how to shorten the credits, by using the tool which decreases the length of videos, and i used the fade to black to smoothly transition into the credits and another fade to black to conclude them. I also shortened the length of the car engine audio, which created less of a gap between the next shot.
Text effect- We originally wanted to show the close up of the phone, although when reviewing the shot, the text was not very clear. Our teacher suggested we could have the text pop up over the phone like done in the Sherlock series, I developed this idea into a text effect. When trying to create the text effect I first inserted an image of a text and imported it into premiere pro and tried to line it with the phone in the shot. However this did not work as the text kept moving and I was not able to write onto the text bubble. When looking on YouTube for a tutorial on the iPhone text effect, I came across a video, a video which explored the idea of the adobe link, including premiere pro, after effects and Photoshop. When watching the video, the video did not explain fully each step. First I opened after effects and linked the video with the close up of the phone, by right clicking the video and pressed 'replace with after effect'. I imported a green text bubble into after effects although, this had text bubble had a white back ground around it, so I opened Photoshop shown on the YouTube video and imported the green text bubble into Photoshop. Through the YouTube video the tools he was selecting were not very clear where they were or how to use them, therefore I had to explore and experiment with different text bubbles, to try and remove the background.
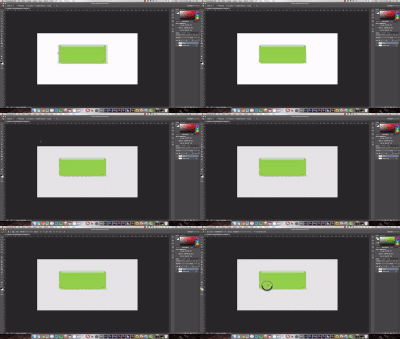 I removed the background shown by the You tuber, although this only removed the original background that is placed on Photoshop, not the background attached to the text bubble. I experimented with different tools to eventually find the eraser tool to remove the white background, however this only managed to remove parts of the background rather than the whole background. I tried this technique with various text bubbles, i found a text with a blue background and the background was easily removed, the text was not the right colour. So I chose a green text bubble which had to little dots in the middle and managed to learn from the YouTube video how to remove them by going over the dots with a tool that used the same colour of the text bubble to remove the dots. I imported this text into after effects and dragged it into the time line, where I aligned the text and learnt how to change the size of the text. I experimented with the different after effects tools to find the text font and wrote the text and found the size that fitted the text bubble. I managed to find a type writer effect to link in with the typing of the text on Amber's phone, and also found a time stretch which allowed me to slow down the type writer effect to perfectly link with Amber's typing on her phone. After exporting our opening, when playing the opening back it did not have the quality we were hoping for, considering the 1080 quality it was set on. From looking and experimenting with different rendering techniques of the audio, this still had no effect. Finally when i found how to render both after effects in premiere pro and after effects this allowed me to render the whole opening thus improving the quality of the final productive. During this process i learnt how to use after effects, Photoshop as well as to render in after effects and in premiere pro.
Music- We started searching for different effects in premiere to create suspenseful music for our opening . We learnt what different effects did, such as an exponential fade which we used, to make some of our audio quieter to create the perfect sound. We also found that audio gain could adjust the volume of the audio and how to make the movements faster and slower with the use of speed/duration. We learnt how to cut music and put music on different levels, increasing the volume of that level or decreasing it. For example, the music we found on YouTube, in a particular part this had the sound of guns, during the section where Amber see's the window open, the suspenseful music starts and increases until she is about to close the window. We decided to cut the music slightly leaving a gap of silence to create a false sense of security for the audience. Although, the gap was far too big and even when we let the music play for longer this would only go through to the sound of the guns. I used the different level's of audio on premiere pro to copy a part of the music and over lap the music onto a different level and using an exponential fade, this made the gap smaller and the effect that we wanted. when the window is closed and the lights turn off a loud piece of music is placed to show danger and tension.
we experimented with different audio fades such as, the exponential fade to smoothly transition to a new piece of audio. We used this many times in our opening, to create an effective audio we wanted, for example, the sound of the car engines at the beginning, an exponential fade was used to quieten the audio at the beginning to make the sound of the engines less sudden and more realistic.
Speed Duration/ Music- We learnt how to speed up or slow down music, from utitilising Youtube, by right clicking onto the audio clip you want to adjust the speed of, press speed and duration and either decrease the number which will slow the speed of the audio click or increase the number such as 120/100 to increase the speed, with used this technique to achieve the effect we wanted when creating an unsettling atmosphere.
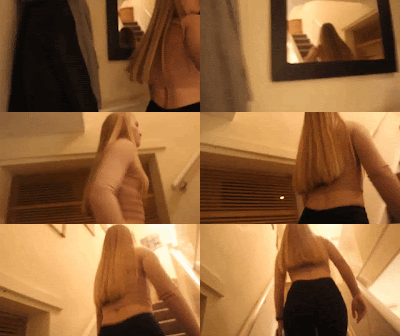 Originally are opening was 3 minutes, before Amber walks up the stairs she goes and texts her friend Violet about the music she hears and when Violet says she made sure everyone went from the party, she is concerned and then makes her way up the stairs. As there was a time restriction we had to cut out this part as we thought it was not as significant. In addition, we thought in a realistic situation the main priority would probably be to check where the music is coming from, rather than texting a friend. We cut this section, to make the opening shorter as well, When Amber hears the music she puts her food down and rather than texting her friend she goes straight upstairs to check what the noise is. To decrease the length even more, we used the speed/duration to increase the speed of Amber's walking to 120/100, originally it was particularly slow considering the music being played upstairs, we also increased this to create a realistic picture.
Audio Gain- We have learnt that by the use of audio gain, this can increase and decrease the volume of a certain section of an audio clip. We used this many times during the editing of our opening. Such as, when we hear the sound of Katie's shoes as she walks to the kitchen, when editing this audio, this was far too loud. We managed to adjust the audio by right clicking the audio clip and decreased the volume by typing in how much needed to lower the volume by the right amount.


No comments:
Post a Comment